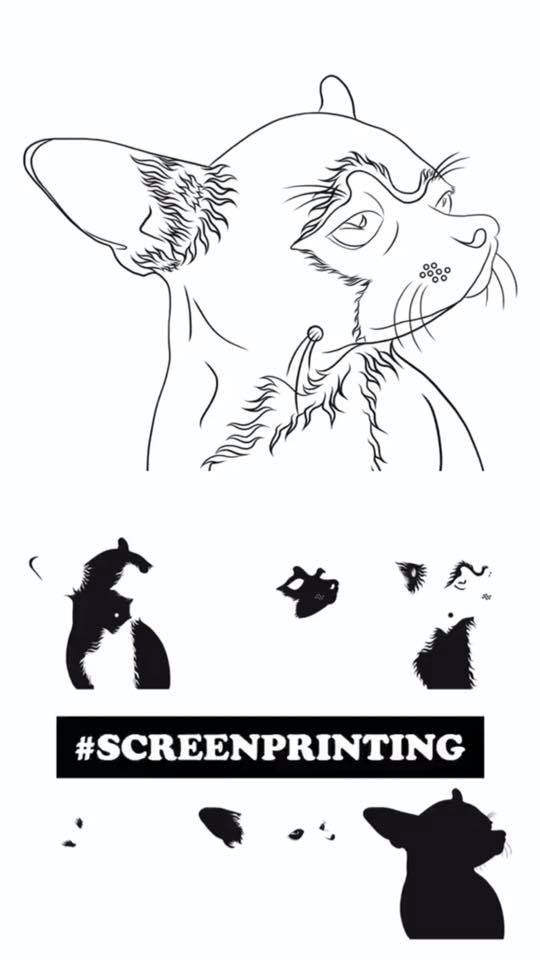
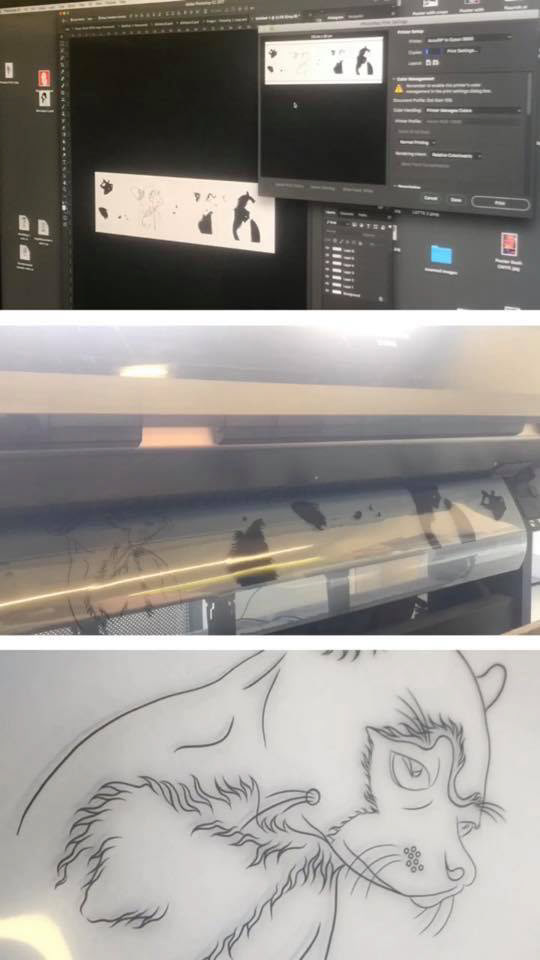
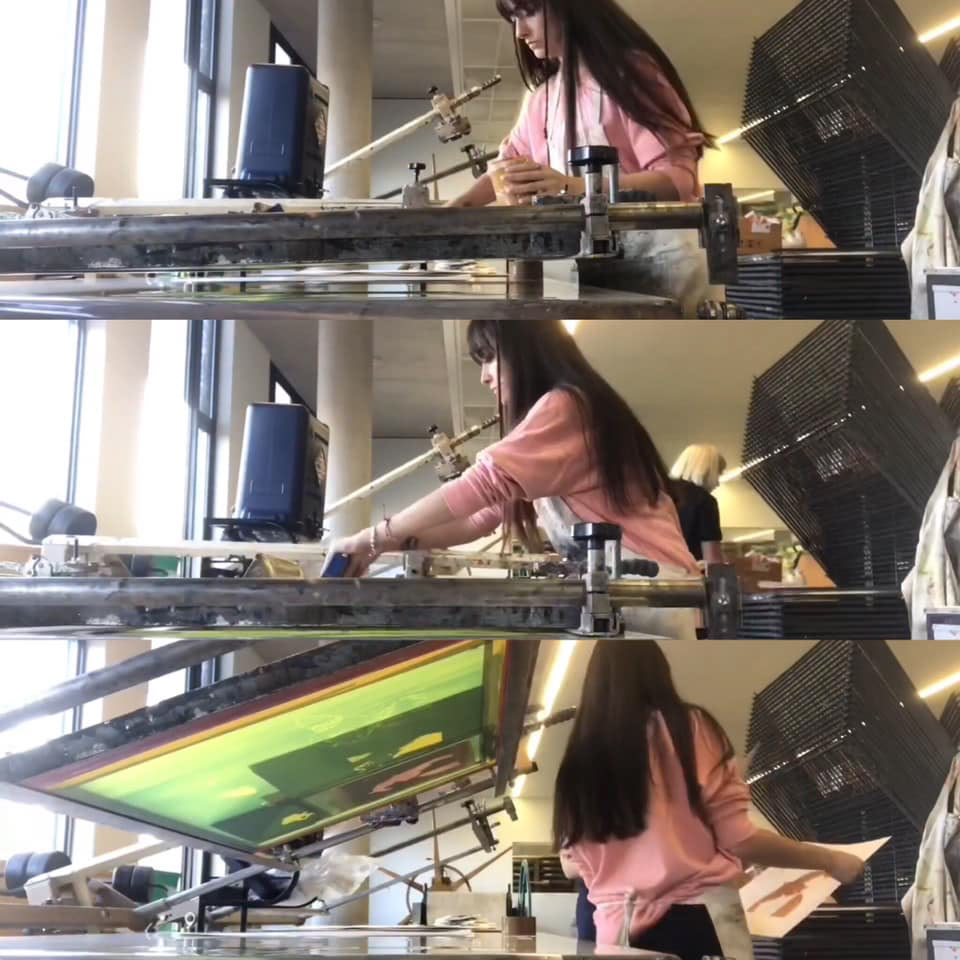


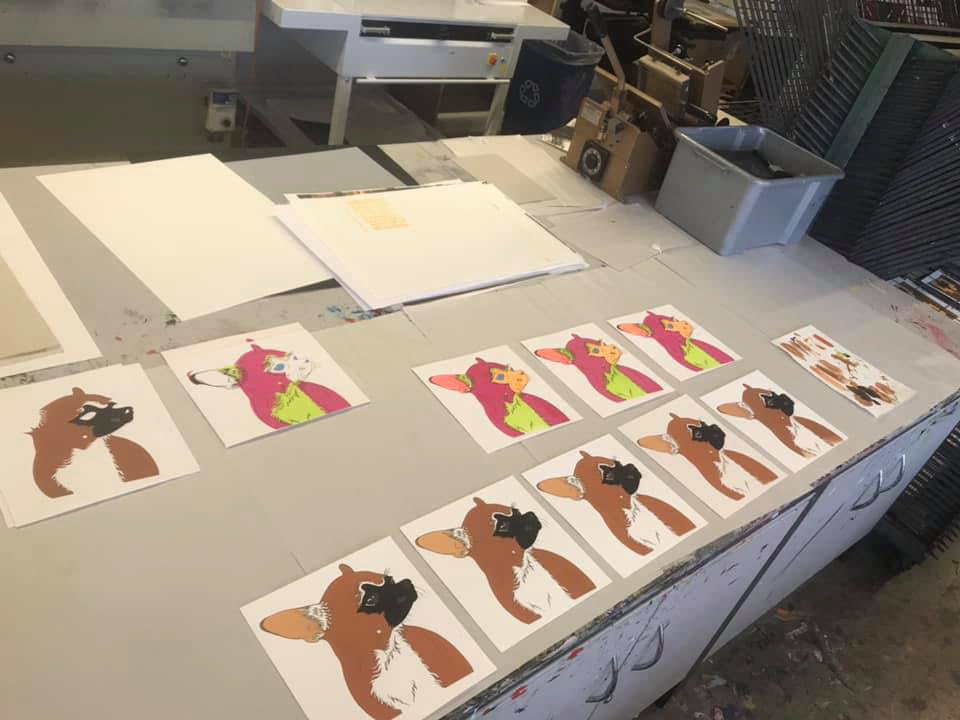
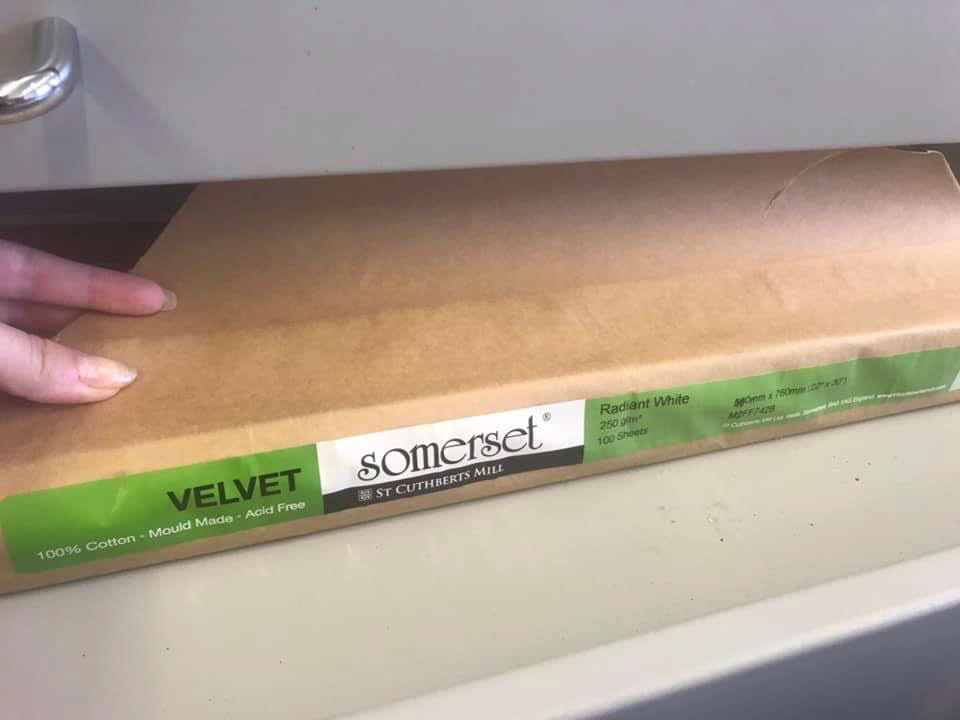


When screen printing I began by designing Papi, my sister's chihuahua. I drew him out in 7 different layers on the iPad and then asked for help at the studio. We then printed my layers with the Accur RIP to Epson 9900 photo black satin printer. The screen was prepared by the staff members at the printing room. When the emulsion was washed off, dry and ready to use, we began printing. I was shown around, told the rules to follow, taught how to create my own colors, the different stocks and how to clean the screen before being taught how to print on the stencil on my own. When mixing colors to create different tones of brown, I was also told I could use any of the free inks, which helped and saved me money. I choose radiant white 250g/m 100% cotton acid-free as my stock. Day one wasn’t successful, but it wasn’t a failure either. I managed to produce some interesting prints even though I didn’t manage to trace the layers correctly, but I was ready to print on my own without any help. On day two, I made the decision of always repeating my outline layer as the first and last layer to print during this process, which made things a lot easier. My goal was to create a realistic and abstract version of Papi. I didn’t rush the process, I had the printing room to myself and all the help I could possibly need. I took three days to accomplish my goal and was very pleased with what I had produced. Even though I hadn’t screen printed much before I felt like a natural screen-printer. I bought some A4 fluorescent assorted art card and black card to mount my designs on. I made a survey on Instagram to ask what fluorescent color card to use on my abstract design, and people thought green looked best. I was then ready to move on to my second dog, Lola. I made two different positives because I didn’t feel I could recognise my dog within my first design.